Try to visualize the following scenario: You’re an IT project manager and currently, you are leading the realization of 9-ish projects. For each, you are communicating and overseeing tasks of 12 different team members. Now, of course, they are not from the same department. As app or web development requires multiple talents, they come from engineering, quality assurance, design and more. Since you didn't know how to organize the process, all the tasks are sitting on one single board called Project X. Can you feel the mental overload of such a crowded Jira board?
Luckily, you have at least separated the tasks by the project. However, the amount of tickets assigned to each of your team members on every project board is still insane. Do you know it doesn’t have to be like this?
Jira’s feature called Boards, which you have been using all along, is a perfect solution to all this mess. Get a grasp of all the options it offers and start using this excellent software tool in a cleaner, more organized and efficient way.
Creation of Teams’ Boards
The first step would be to create a separate board for each project and each team working on it. Therefore, you will probably always have a separate board for the Design, Development, and Product teams.

When making the boards, it is also essential to go with the correct type of board as not all will offer the same functionalities.
Selecting Correct Board Type
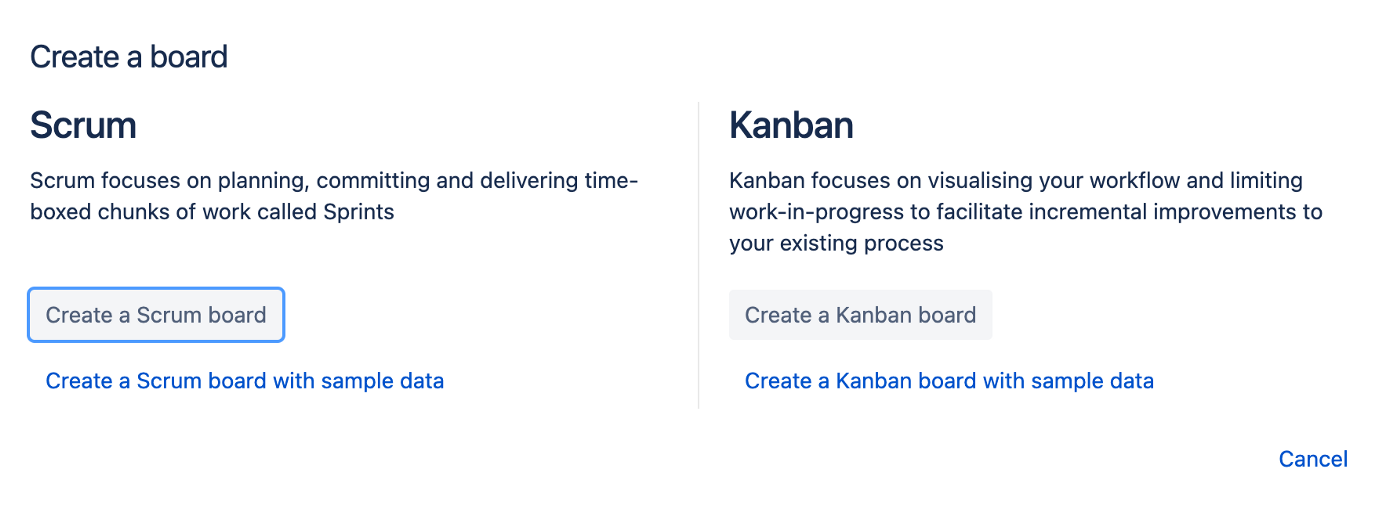
You have probably noticed that once you create a board for a project in Jira, you will have the option to choose from having a ‘Kanban’ or ‘Scrum’ board. Therefore, it is crucial to know the difference between those two boards.
On the Scrum board, you have all of the tools you need to use for Sprint Planning, Grooming session, Estimation Process and different reports, such as Burndown Chart.
A Kanban board has a pretty straightforward flow. Like any typical Kanban board, you can set it up however you would like and suits you and your team the most.
This is important as you can select different board types, depending on which team you will use them for.
For example, let's say that my engineering team is ‘Scrum’ oriented and follows rituals of the Scrum framework. Therefore, I will choose the Scrum board type for their tasks planning. However, my Design and Product teams have more adaptable rituals, allowing us to use the Kanban board type.
Issue Types and Filtering
Now you have three complete boards with different purposes and have already managed to create more order and structure:
- Scrum styled Engineering board
- Kanban styled Design team board
- Kanban styled Product team board
Yet, one thing that all of the boards have in common is having no separate ‘Issue’ destination. This can raise problems when creating issue types on the project level since they appear on each board.
To solve this, create:
- A specific issue type for the particular boards.
- A filter for the issue types that will appear on the specific boards.
Specific Issue Types
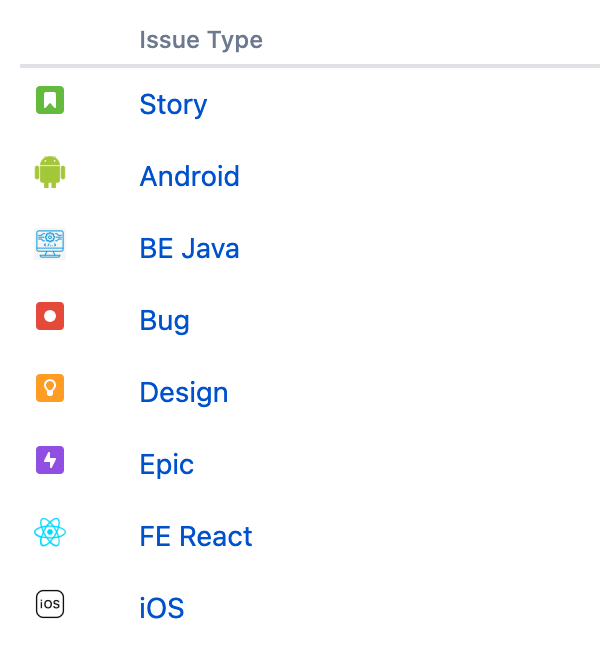
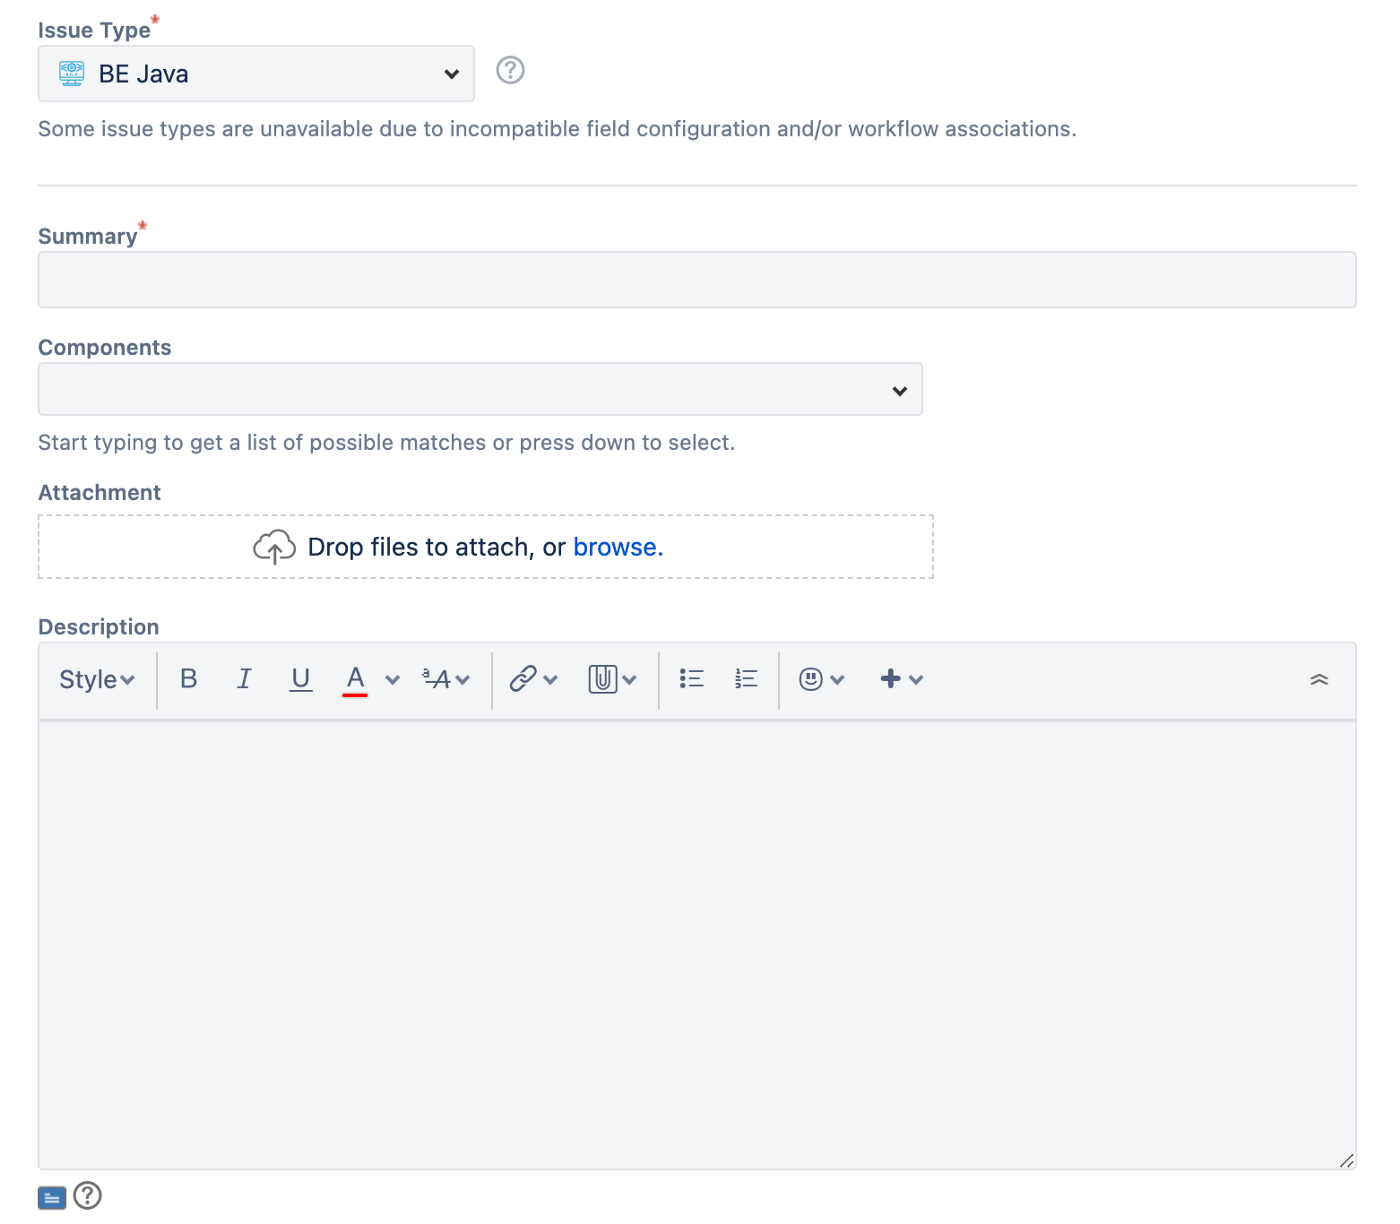
As you know, Jira lets you create different issue types. For example, once starting a new project, the most basic ones to pick are story, task, bug, child issue, and epic issue.
Let’s say, for the argument’s sake, you have a development team consisting of iOS, Android, and back-end developers. Instead of labeling your issues as (iOS) Implement Two-Factor authentication, (Android) Implement Two-Factor authentication and (BE) Implement Two-Factor authentication, you can create separate issue types for iOS, Android and BE.
In this case, you can also create an issue type for Designers and just maintain the ‘Story’ default issue type for Product purposes.
You will also be able to change the icons of the different issue types by clicking on the icon and uploading a picture or selecting it from a set of Jira default icons.
Filtering Issue Types between different boards
Once we have created different issue types for each board, they will still appear on all of your boards because no filter will connect those issue types to a specific board.
You have to enter the Board Settings for your selected board and use Edit Filter Query on the General Settings to filter issues.
Once you enter the Filter part of Jira, you could feel a bit overwhelmed. There is a lot of information and many things to filter, but we came here with one purpose so try focusing only on that.

On the Filter Section of your project, you can Activate/Deactivate different issue types that will appear on your board. You will need to click the ones you want to appear on the board and execute with the Save button on the top.
Now, when you create an Issue and select a specific Issue type, that issue type will appear only on that board with one particular Issue Filter attached to it.
To conclude this, now you have separate boards with different purposes that look more:
- organized
- purposeful
- transparent
Well-planned boards will benefit your team as well as your clients. When we make information visible and accessible, all processes become transparent, ensuring that everyone working on the project is synchronized to achieve the goals.
